OPERATING MANUAL

GAMEPLAY GUIDE

A top to bottom guide for Drifters gameplay.

ABILITY DETAILS

ABILITY 1REND
REND icon from the Deadlock Wiki

REND

CLOSE-RANGE CONE

Swipe at enemies in a cone ahead, dealing spirit damage. Targets caught at close range also take bonus melee damage.

COOLDOWN16s
CAST RANGE16m
CLOSE RANGE8m
BONUS DAMAGE40
ABILITY POINT UPGRADES
1 AP+40 bonus damage
2 AP−8s cooldown
5 APHeavy-melee scaling and a 2.3s close-range silence

MATCH FLOW

Drifter's Playstyle

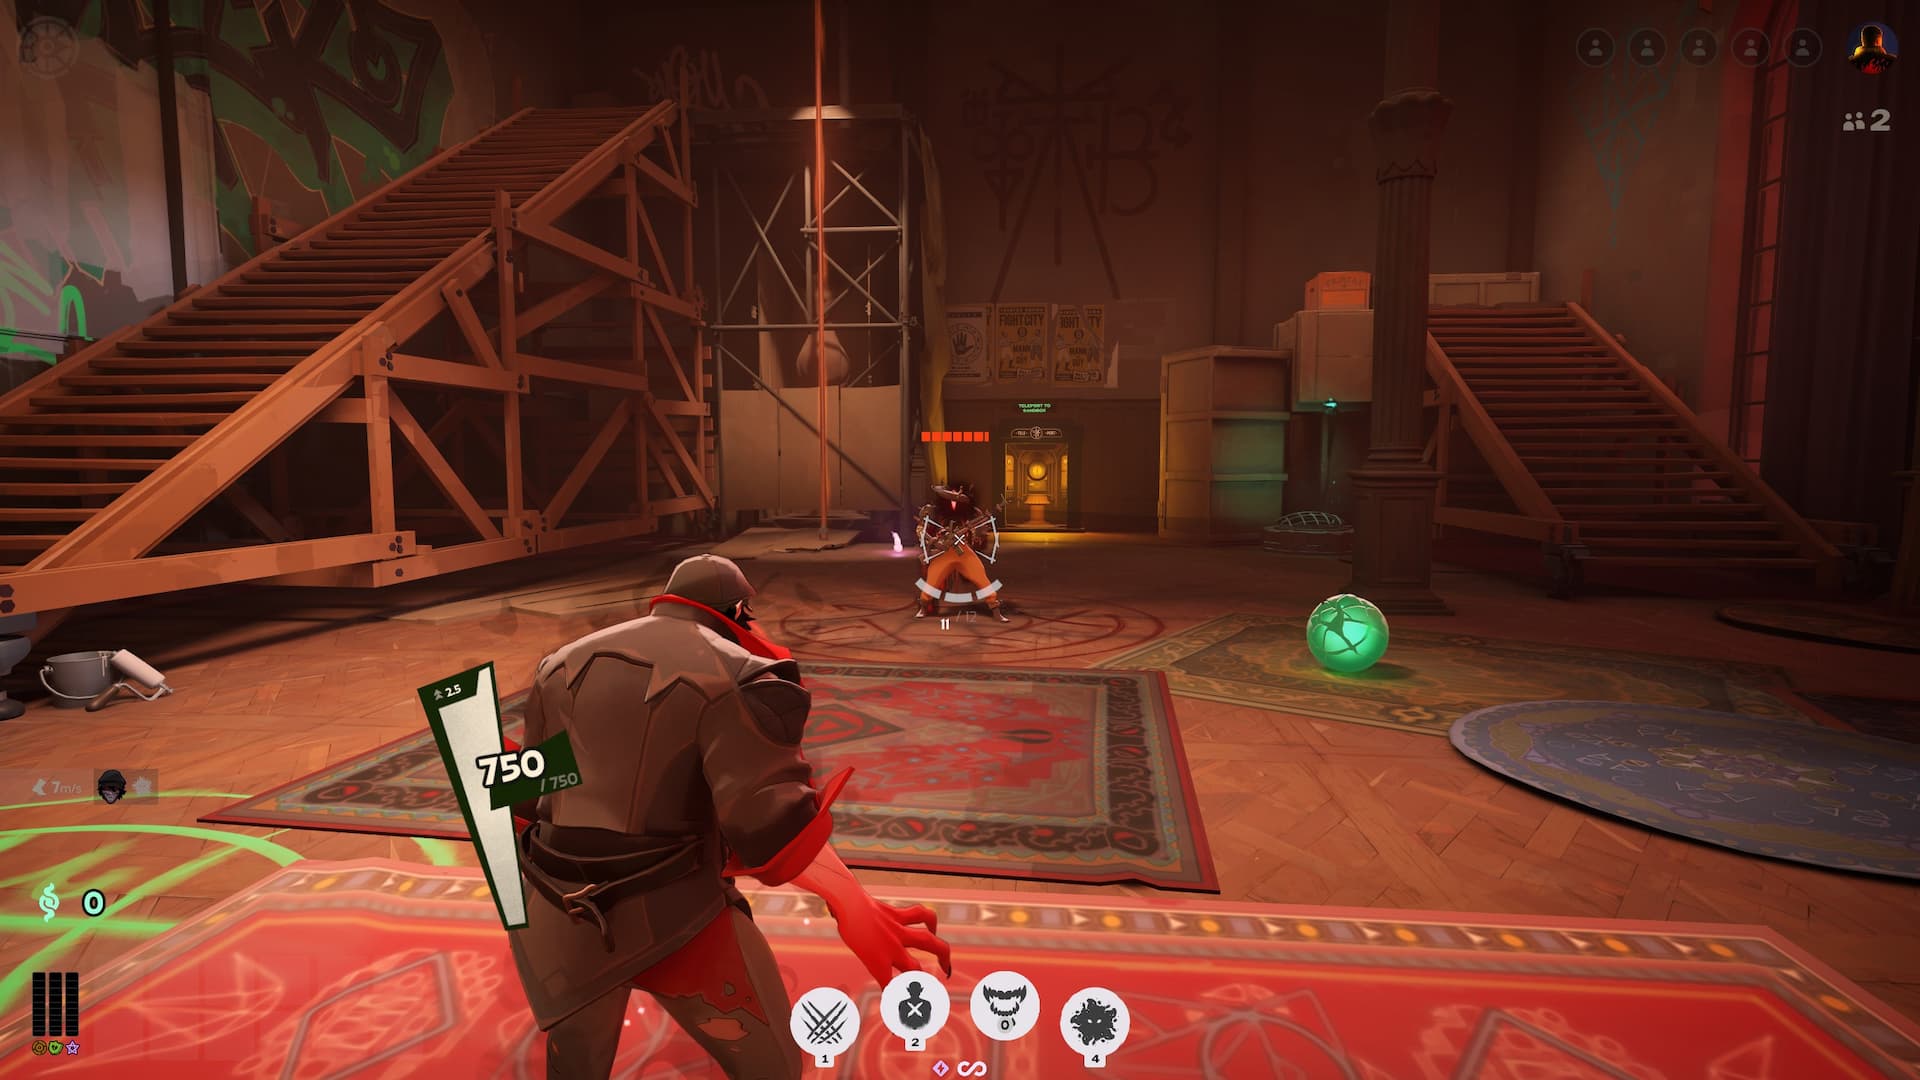
Drifter is an adaptable assassin who relies on smart rotations and target selection throughout the match. As one of Deadlock’s strongest snowballing heroes, he wants early isolated kills to establish a soul lead and build permanent weapon damage through Bloodscent. Use Rend for powerful close range burst damage, while using Stalker’s Mark to pursue and reposition behind vulnerable enemies. Focus on isolating and repeatedly eliminating an important enemy carry before they come online, while in fights try to quickly kill squishy characters and supports. Drifter is especially dangerous against heroes who require distance, but falling behind early can significantly weaken his impact.

LANING STAGE

Arguably one of the most important stages for Drifter. The idea of not feeding is even more important here, because the worse off you are after laning, the harder your kill potential is going to be while roaming. This means you will be unable to fall off in the late game, because you were never standing on anything before anyway.

LANE PRESSURE

POKING

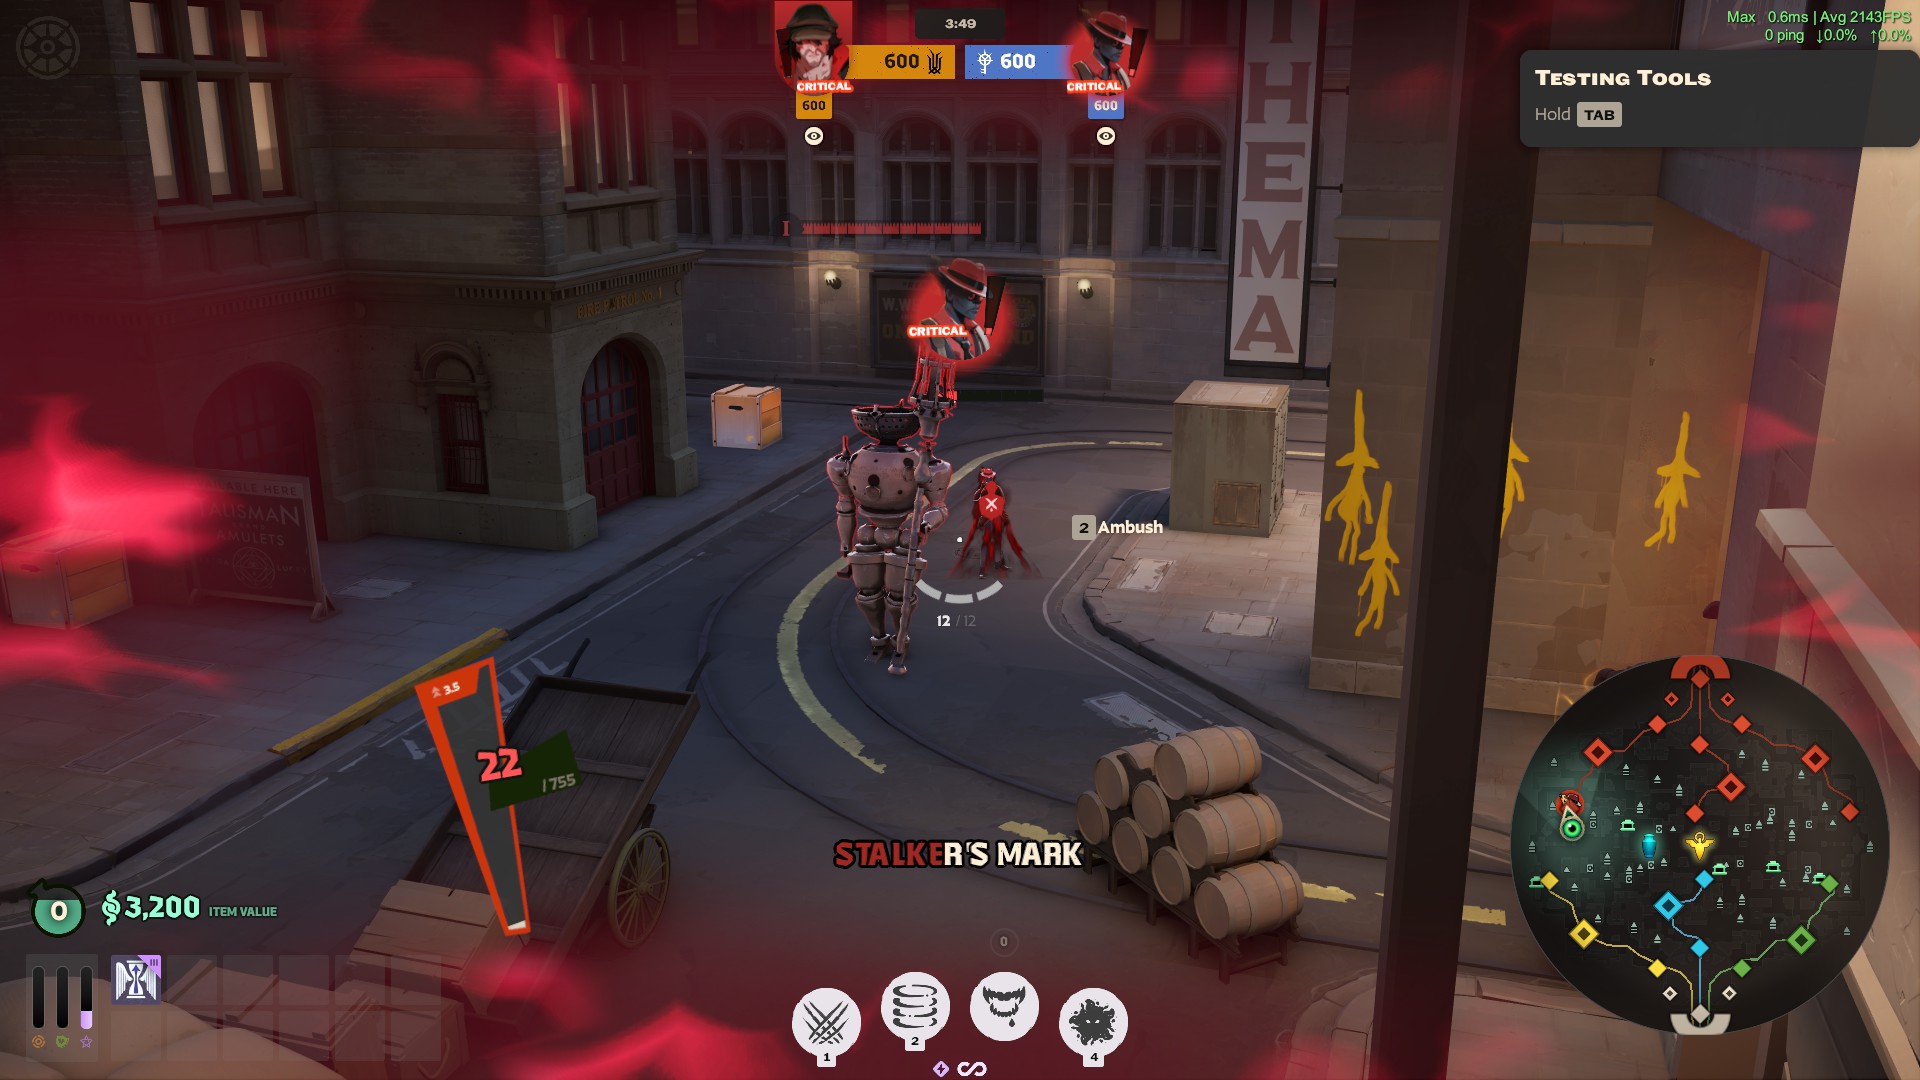
Use your most powerful trading tool Rend to your advantage to chip away at your opponents and eventually whittle their health down for either a kill or a reset. You ideally want to play more on the aggressive side with your laning partner, maximizing the amount of short trades in lane, while minimizing the amount of long trades you get due to Drifters sub par gun damage, so having someone else who likes to brawl with you is a dream. When poking, try to use sneaky movement and stay out of sight for surprise attacks. However, always be on the lookout for a good dash Rend on an enemy trying to push the wave. Stalker's Mark is a fantastic bully tool, as it's a damage over time ability that will tick as you pressure the wave, or even m1 the other enemy laner. It also makes the enemy play on their back foot so they do not get teleported to. Ideally, use Stalker's Mark on the tankier enemy laner since it deals percentage based damage. Its only caveat is that it is a skillshot, so do not make your Marks too obvious, because people will be on the lookout for them. Getting close, using Rend, then applying Stalker's Mark and shooting them as they run to safety is a great setup to ensure it does not miss.

POSITIONINGOPEN FIELD VIEW
BRIDGE POSITIONING
GOOD RANGE VS BAD RANGE

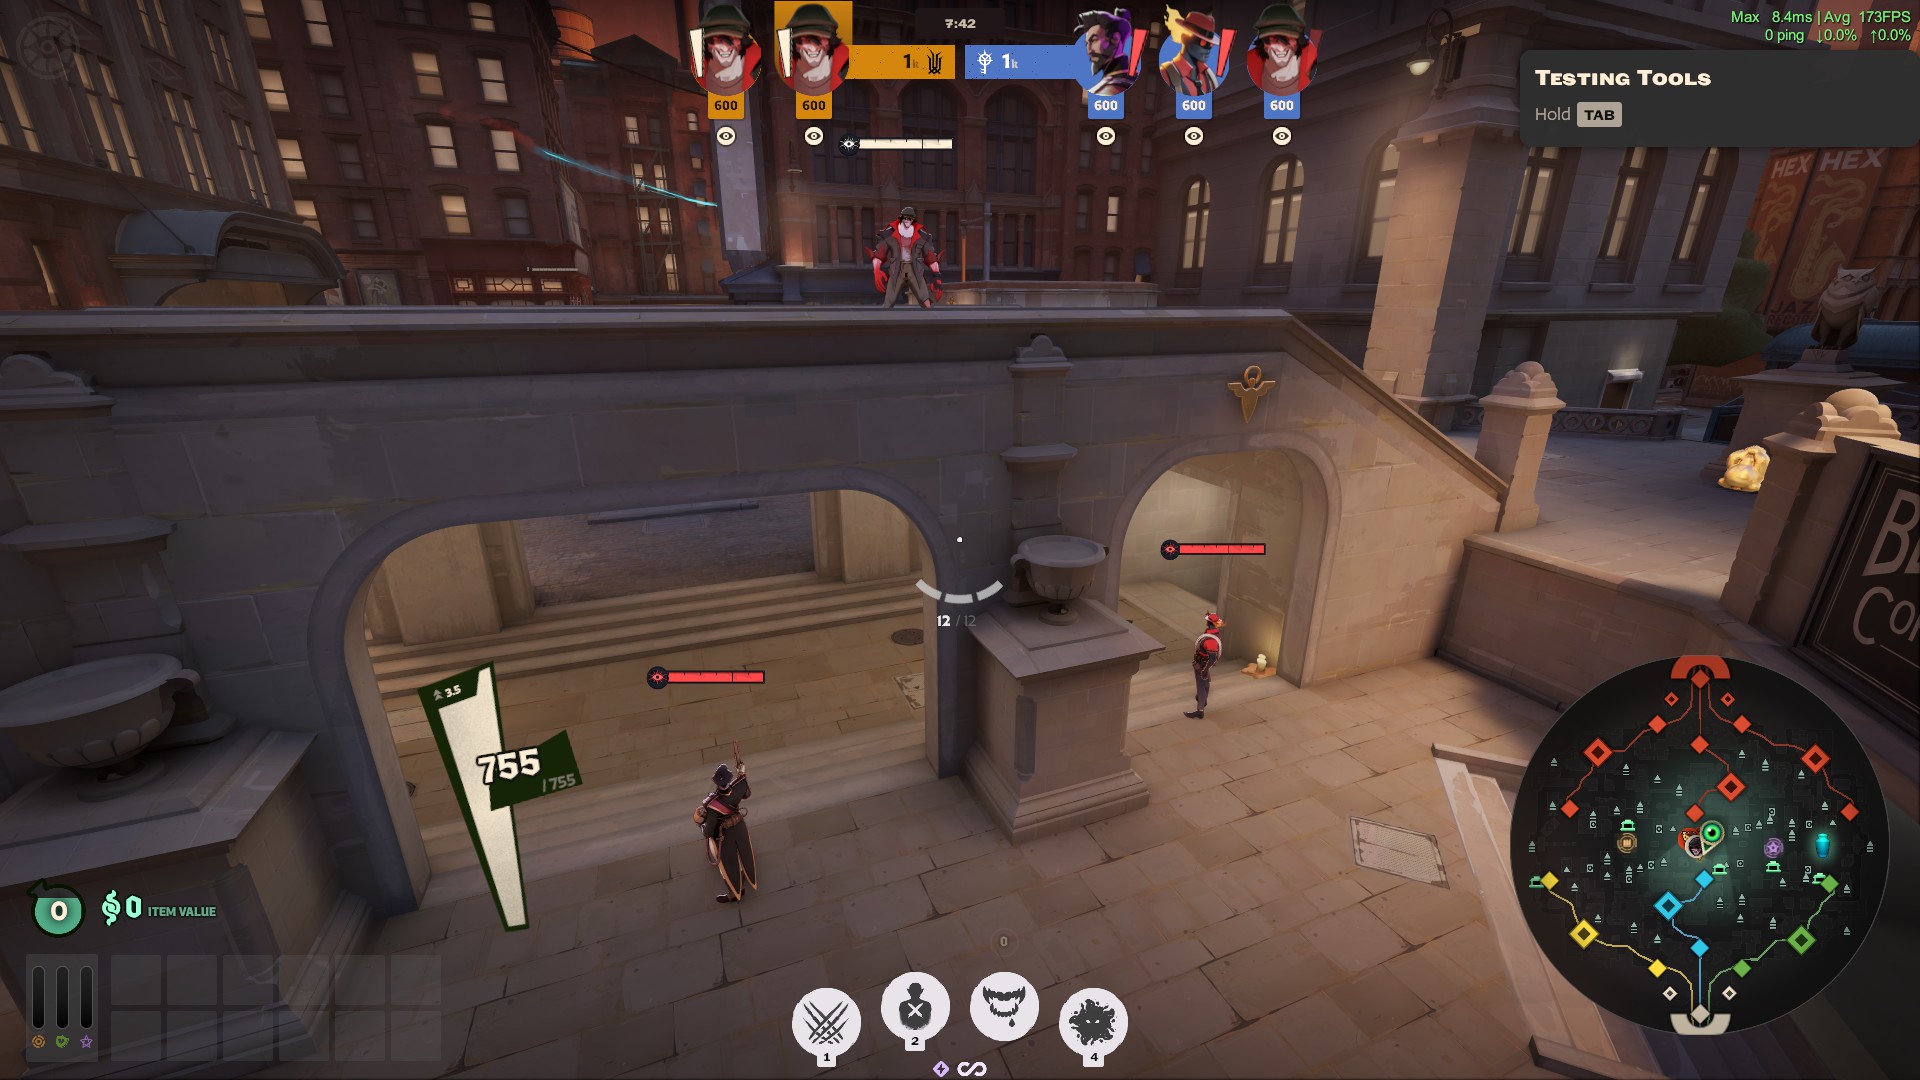
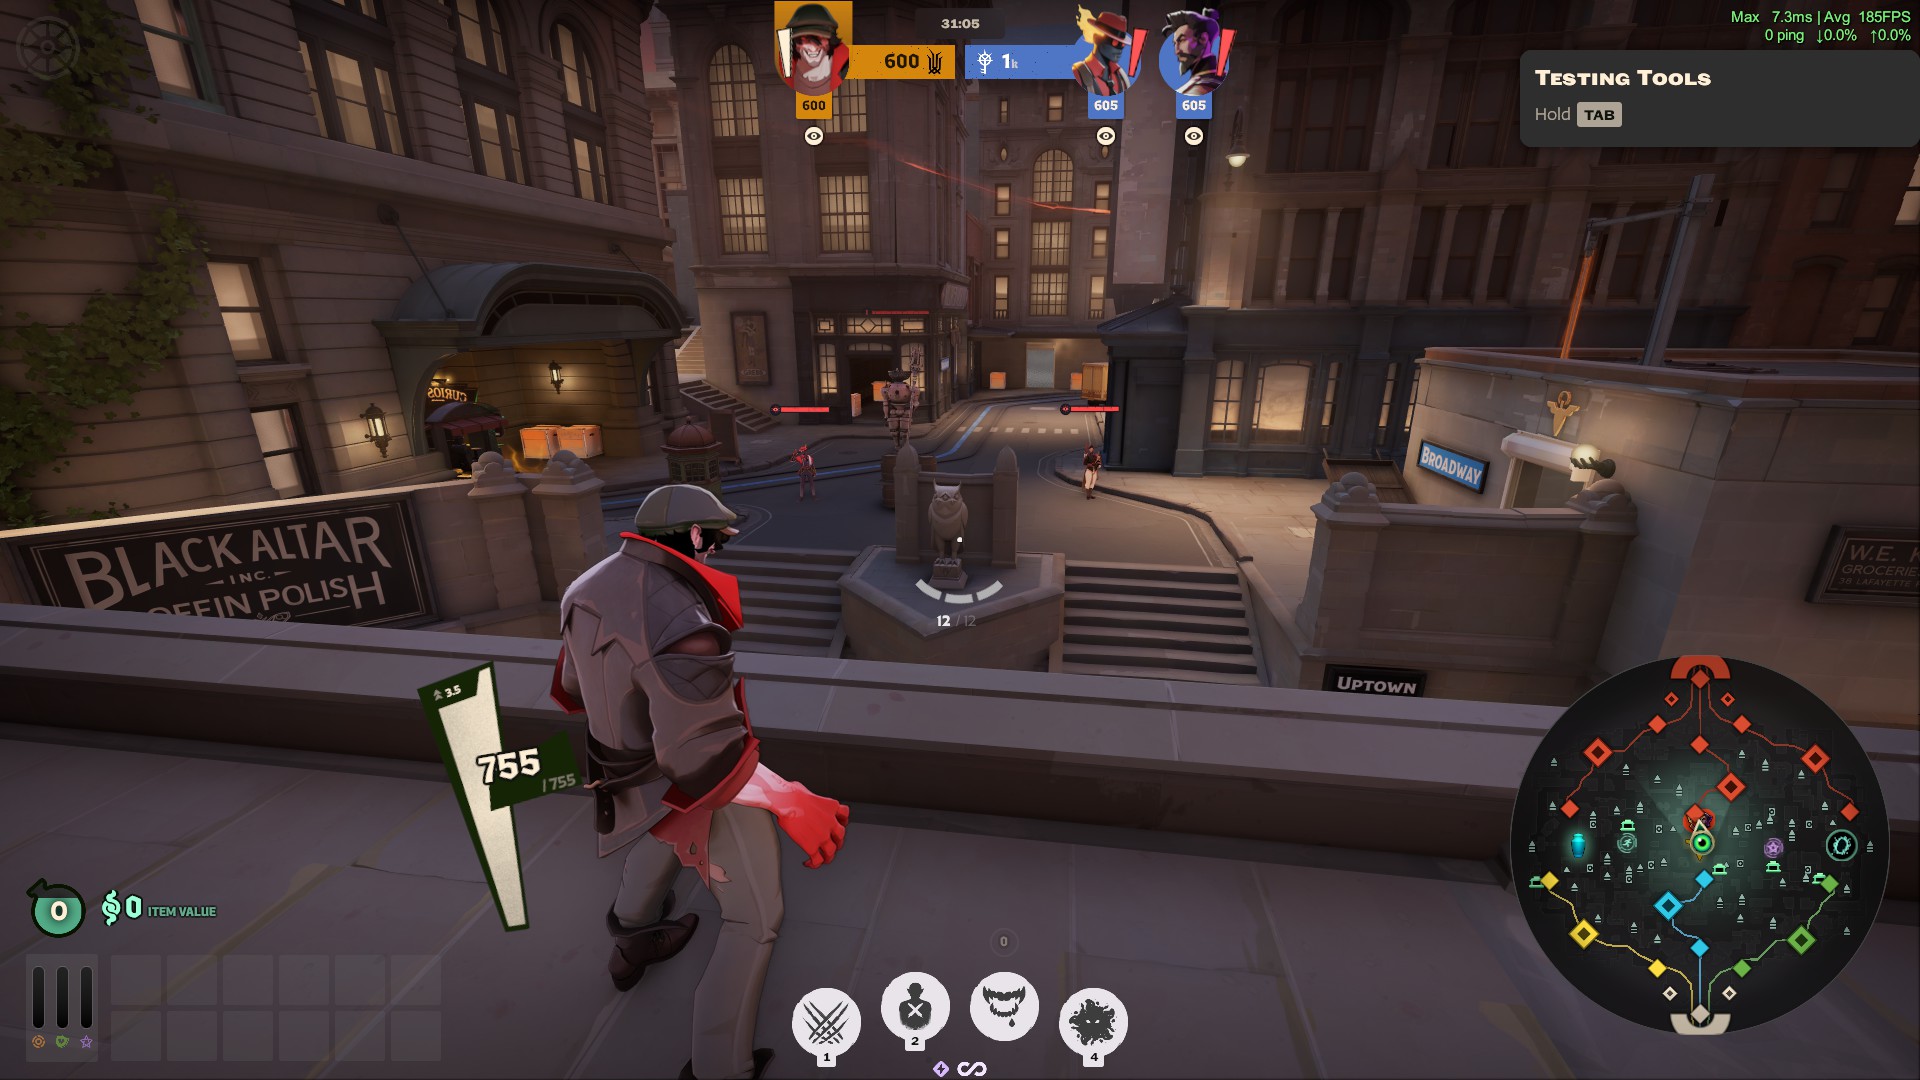
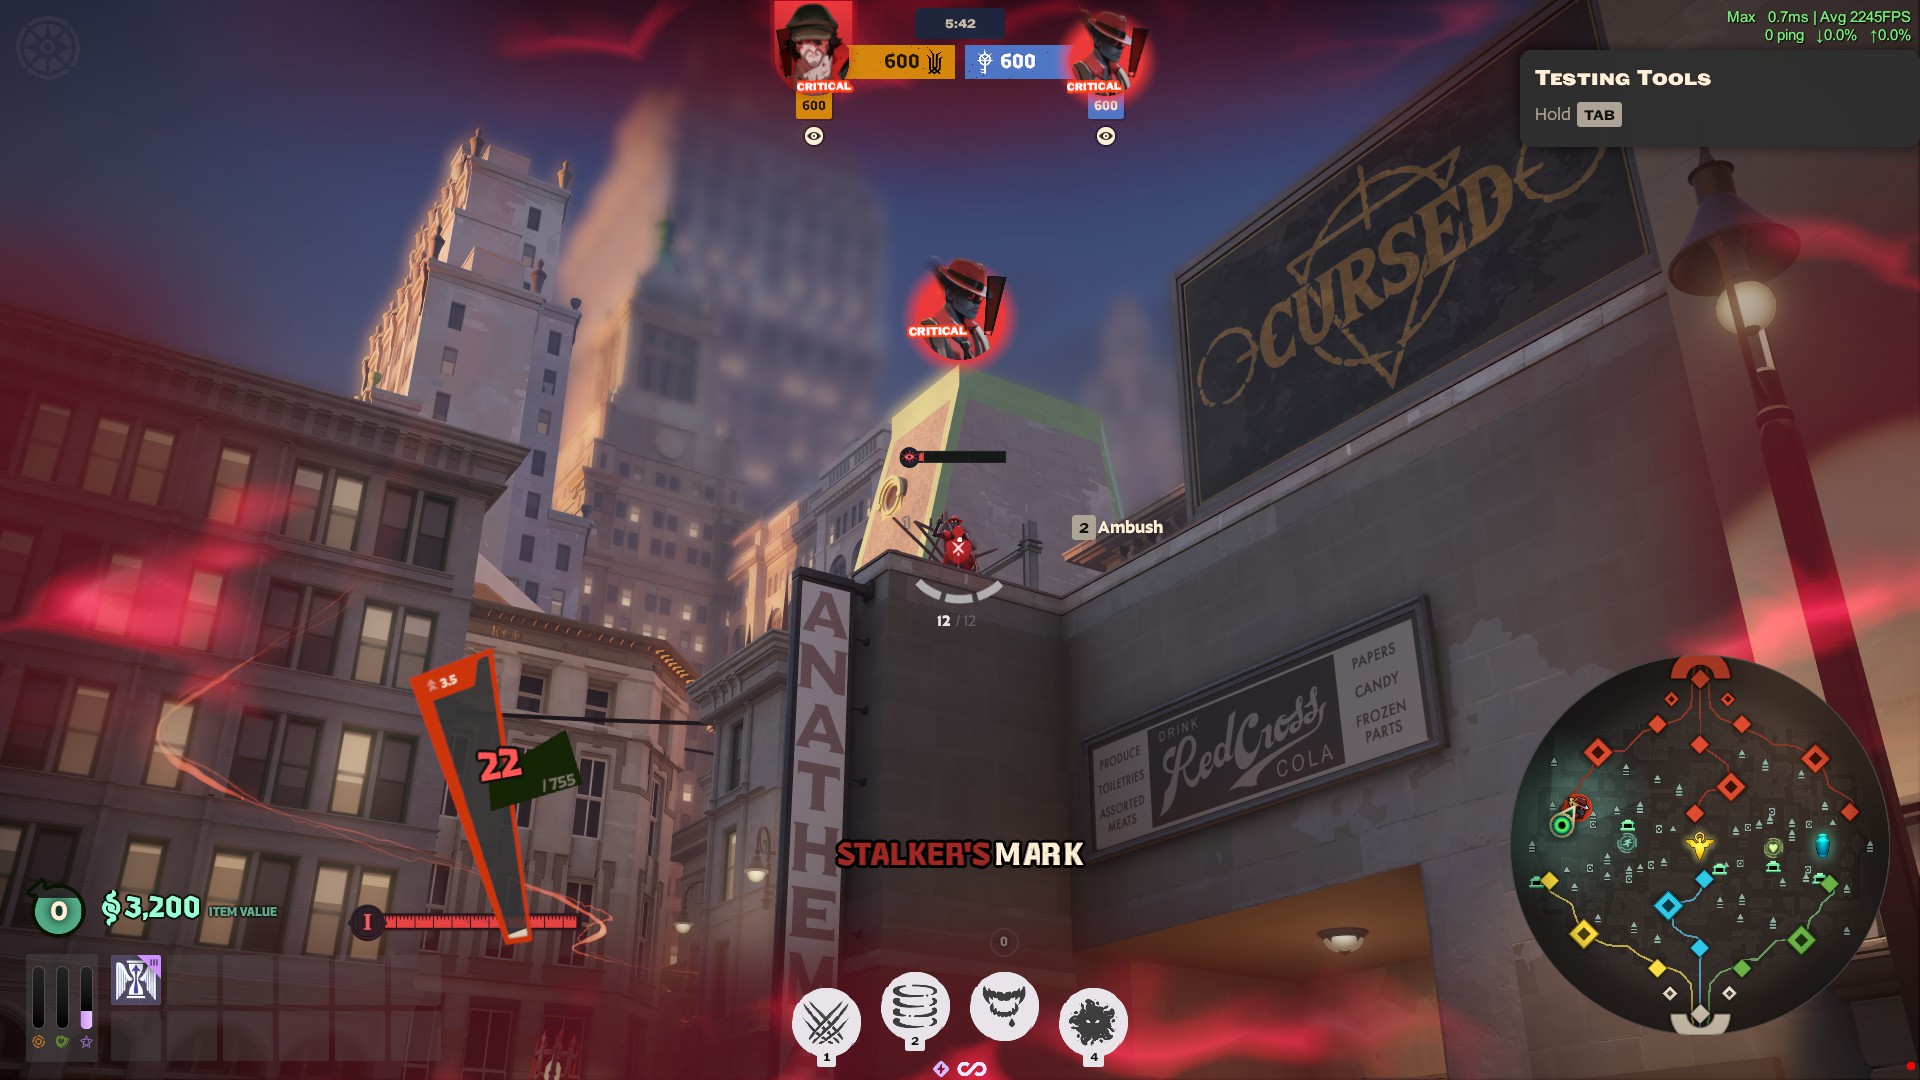
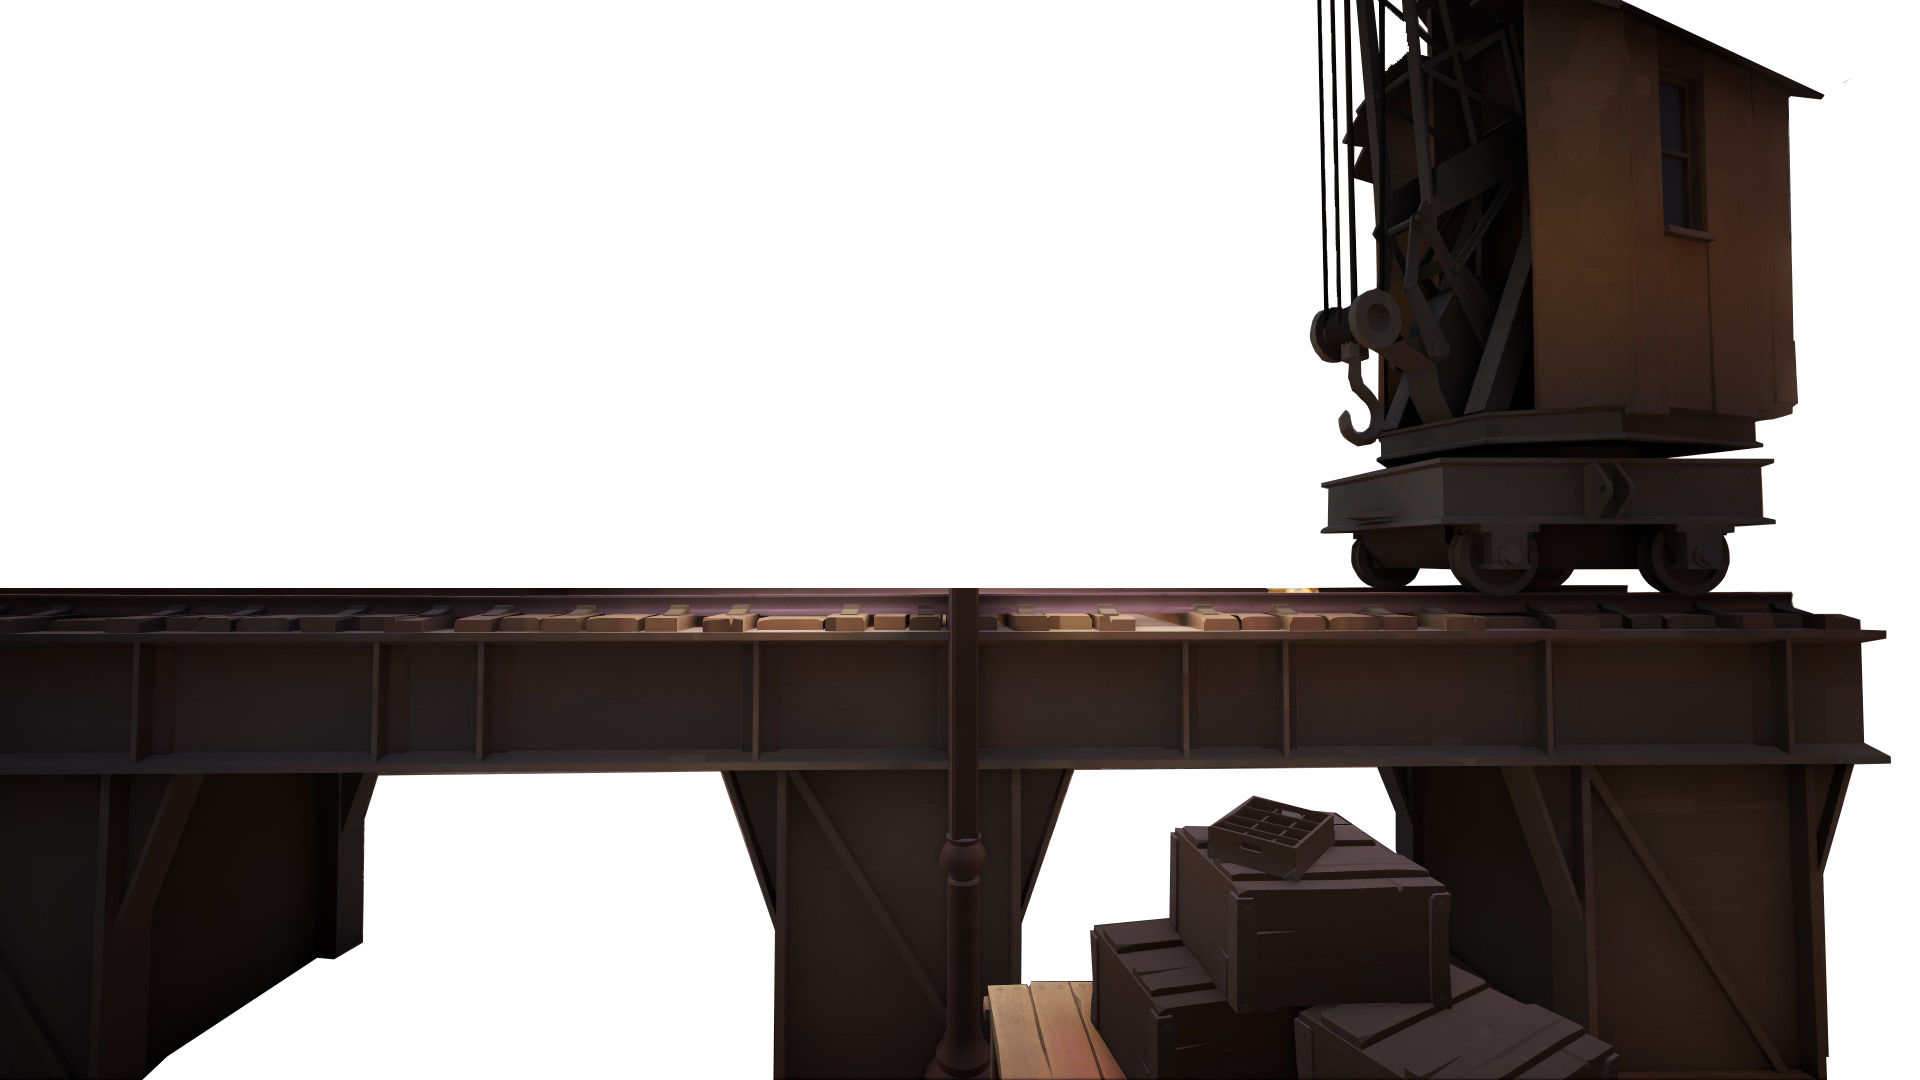
The bridge becomes valuable when enemies are forced close to or beneath you. It becomes weak when you use it as a distant firing platform. However, that does not make it useless. The birdge offers a nice elevation and view to throw Stalkers Mark onto enemies who are busy clearing the wave and last hitting.

Drifter above enemies positioned close to and beneath the bridge
GOOD BRIDGE POSITION

The enemy is close to the bridge and moving underneath it. This gives Drifter short drop angles, nearby cover, and opportunities to surprise them with Rend before retreating out of sight.

Drifter standing on a distant bridge facing enemies far across the lane
SITUATIONAL BRIDGE POSITION

The enemy is far across the lane with open sightlines between you. Drifter cannot apply reliable gun or Rend pressure from here, so standing on the bridge only makes your position obvious without creating a real threat. Stalkers Mark being the exception here.

SHORT RANGE POSITIONING
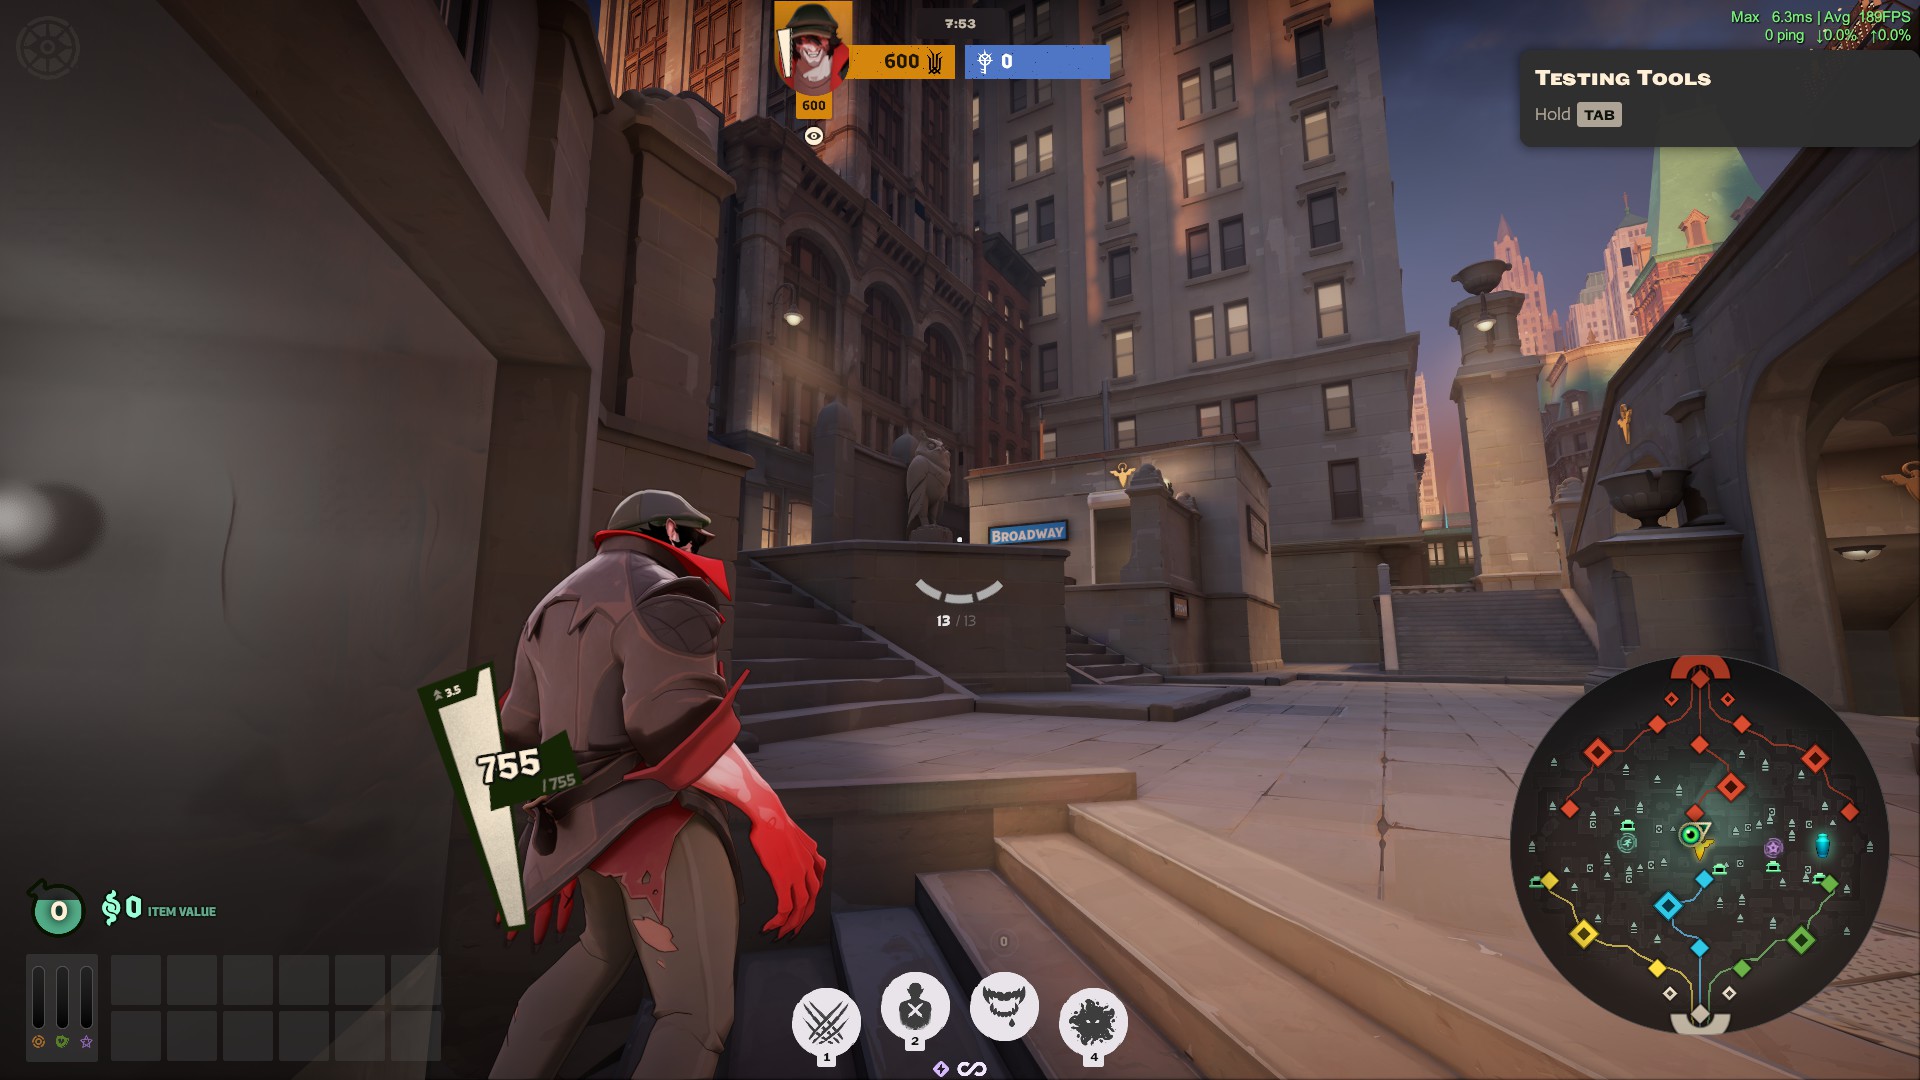
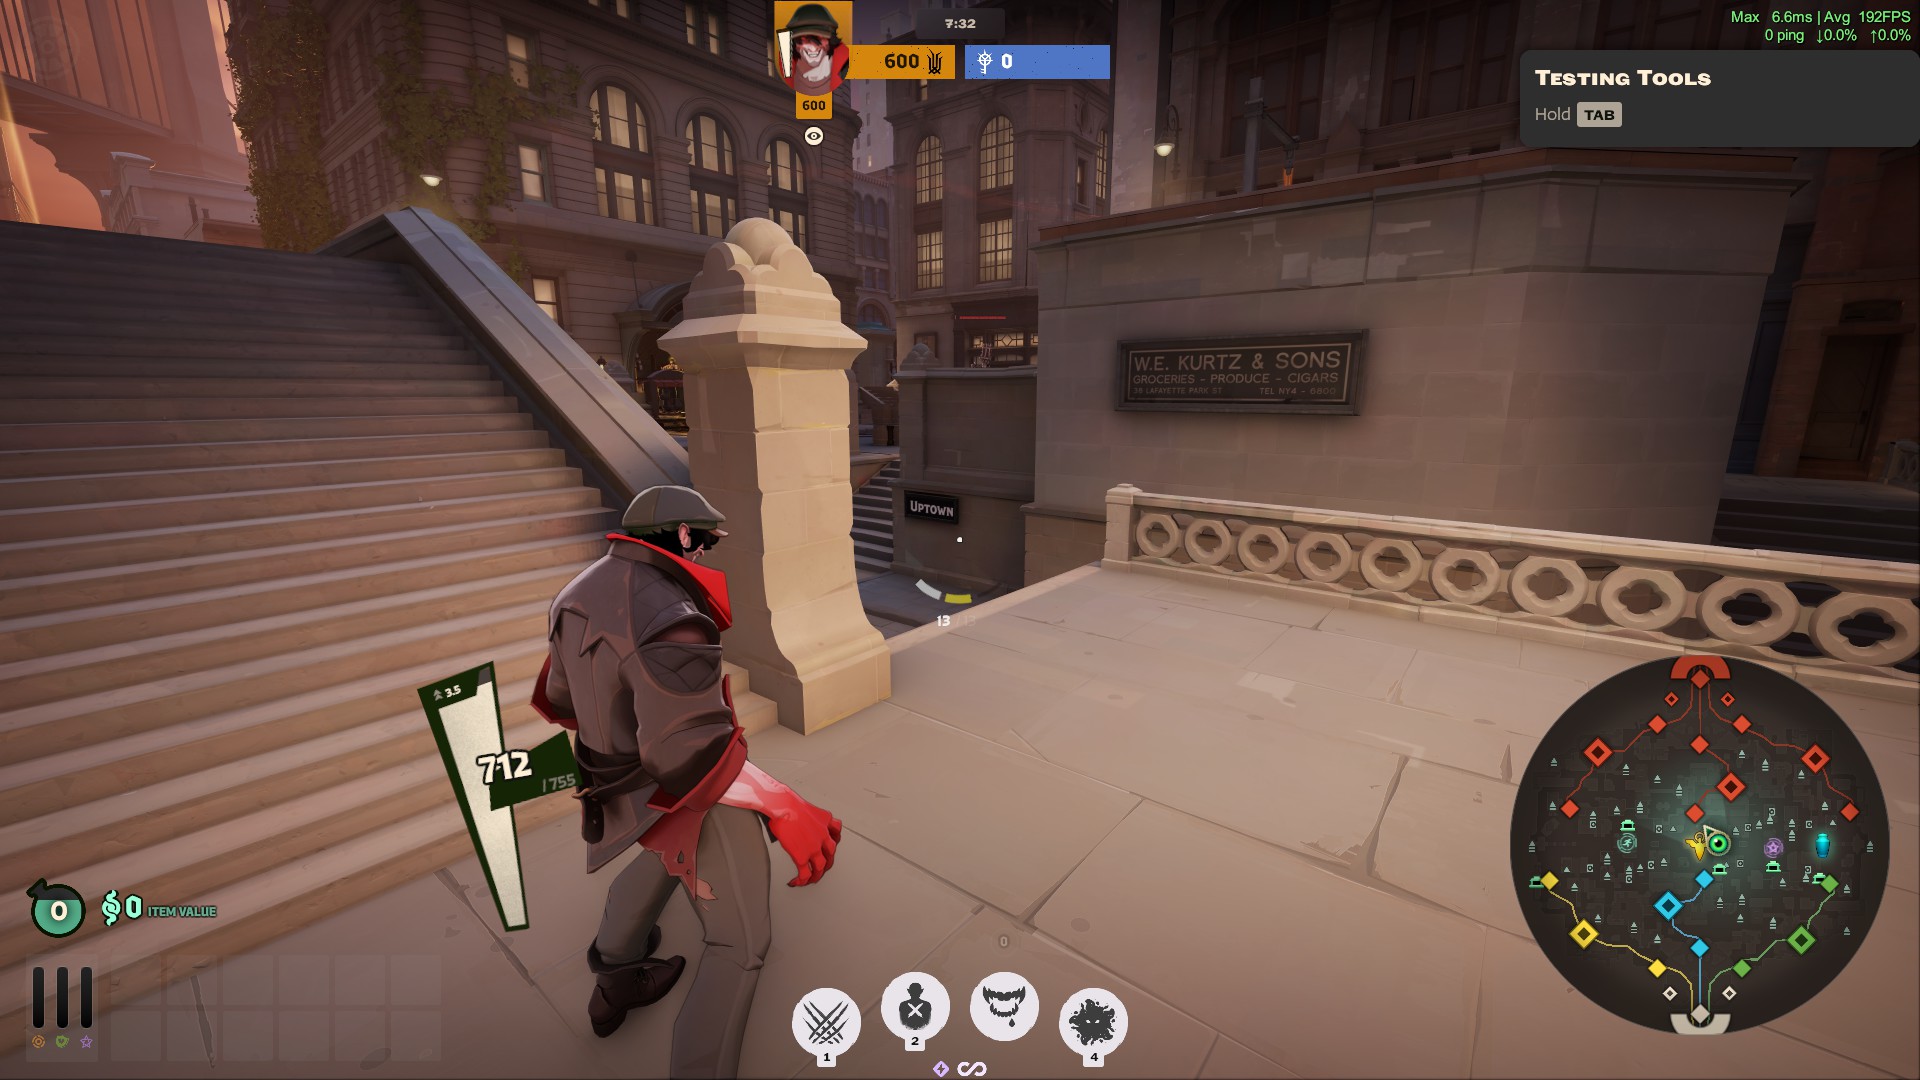
PLAY THE CORNERS AND EDGES

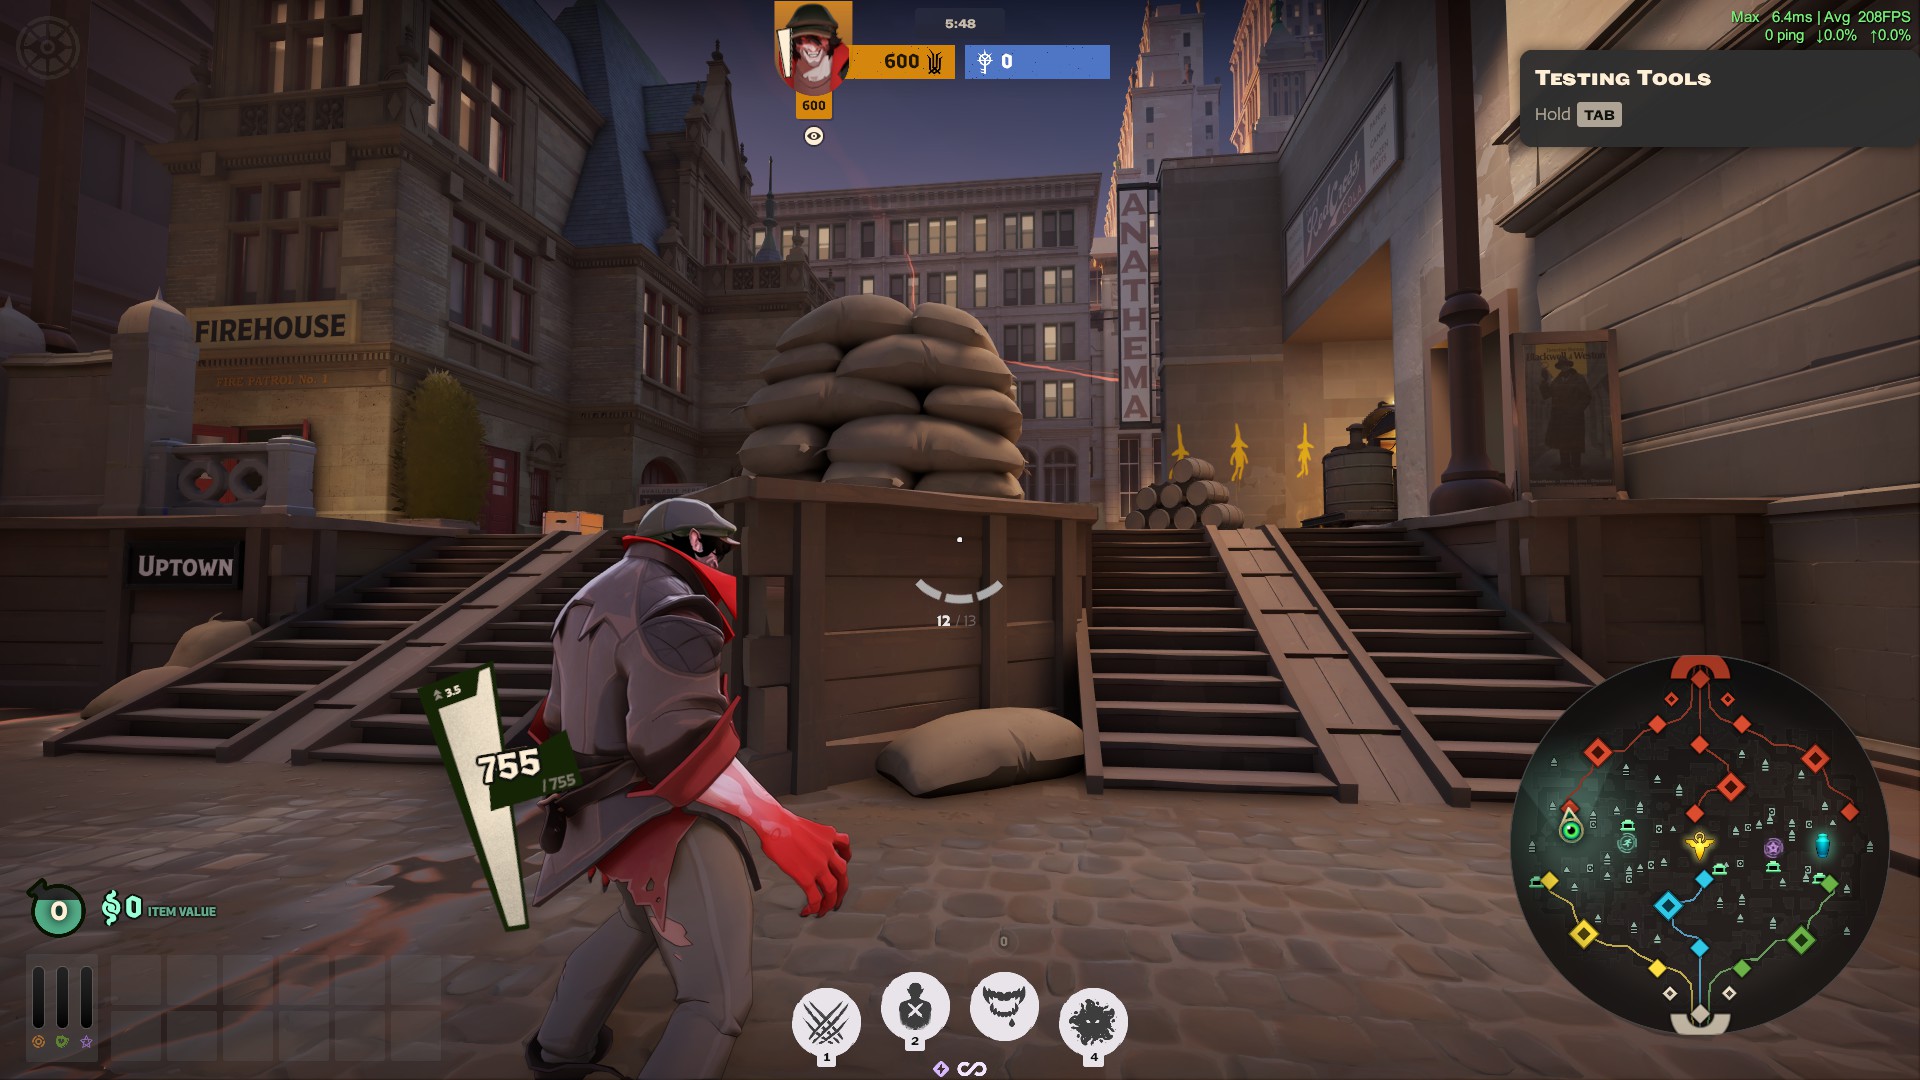
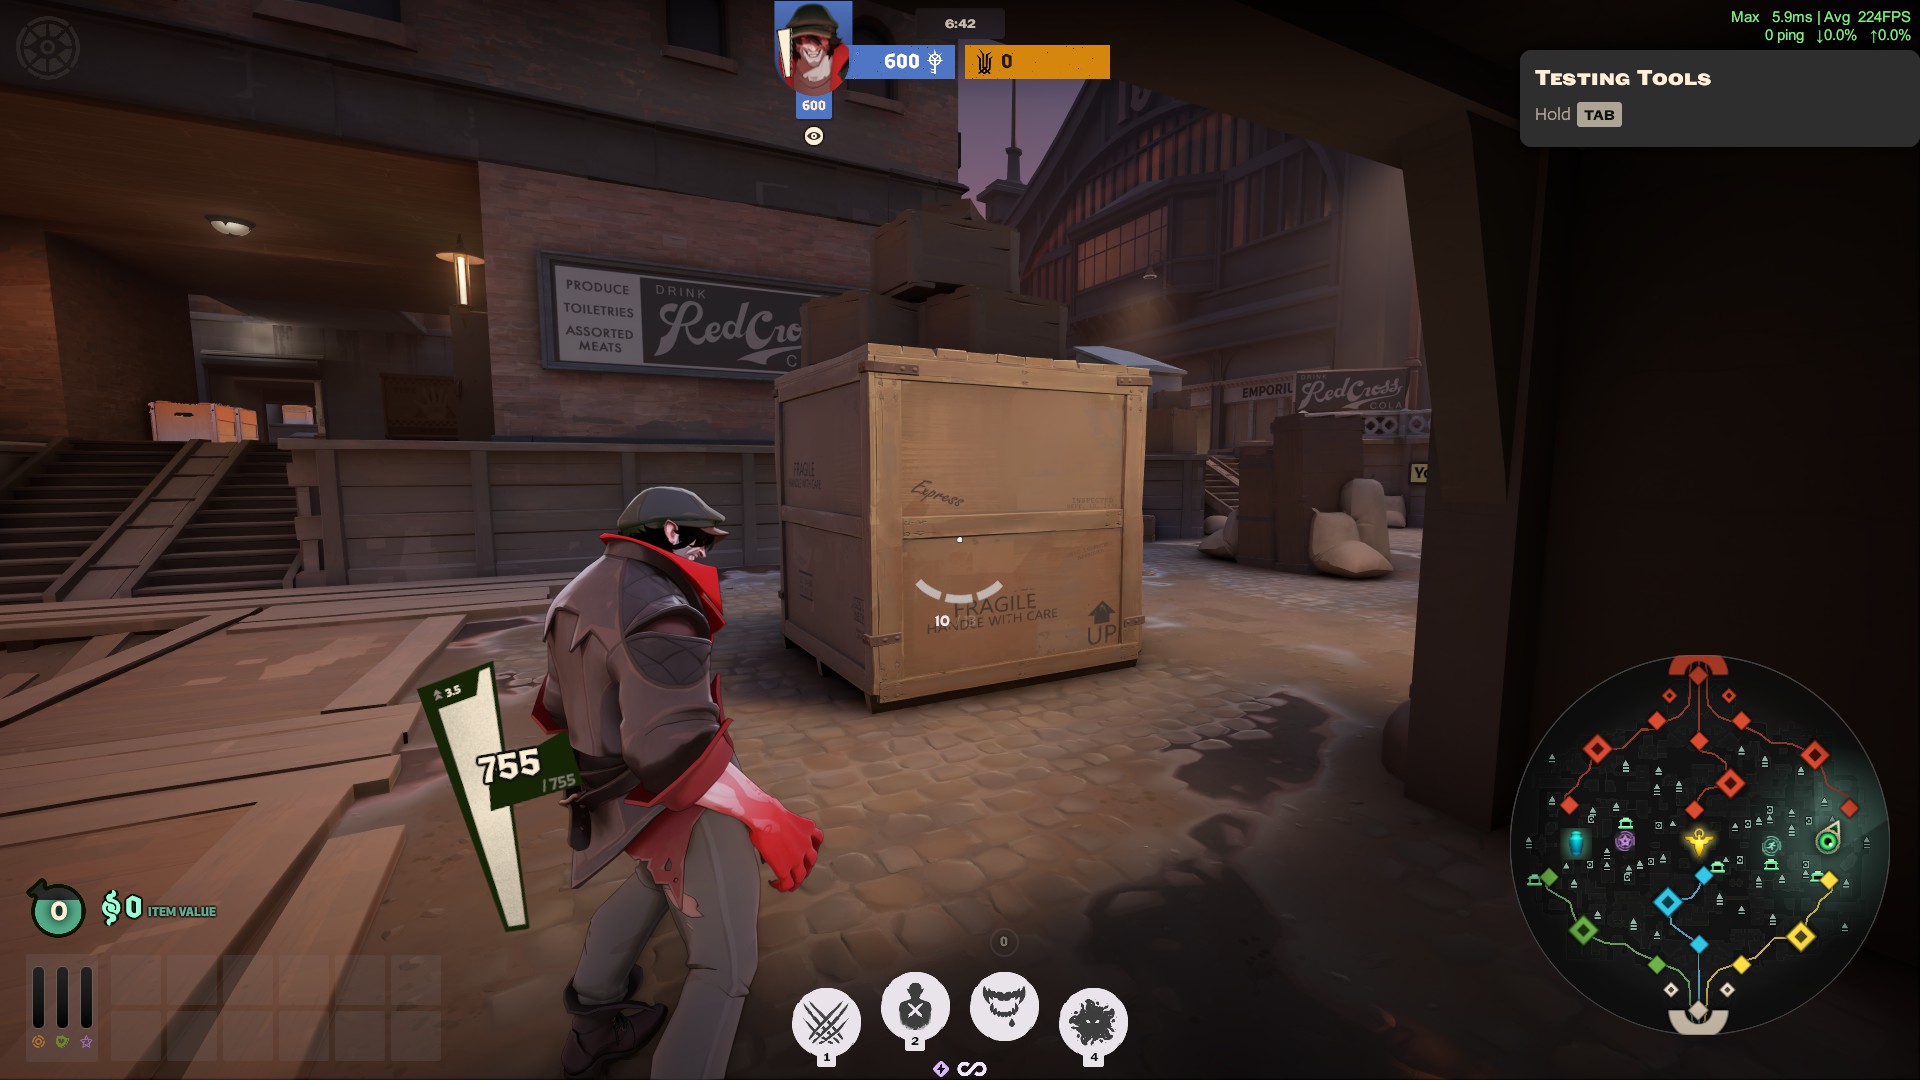
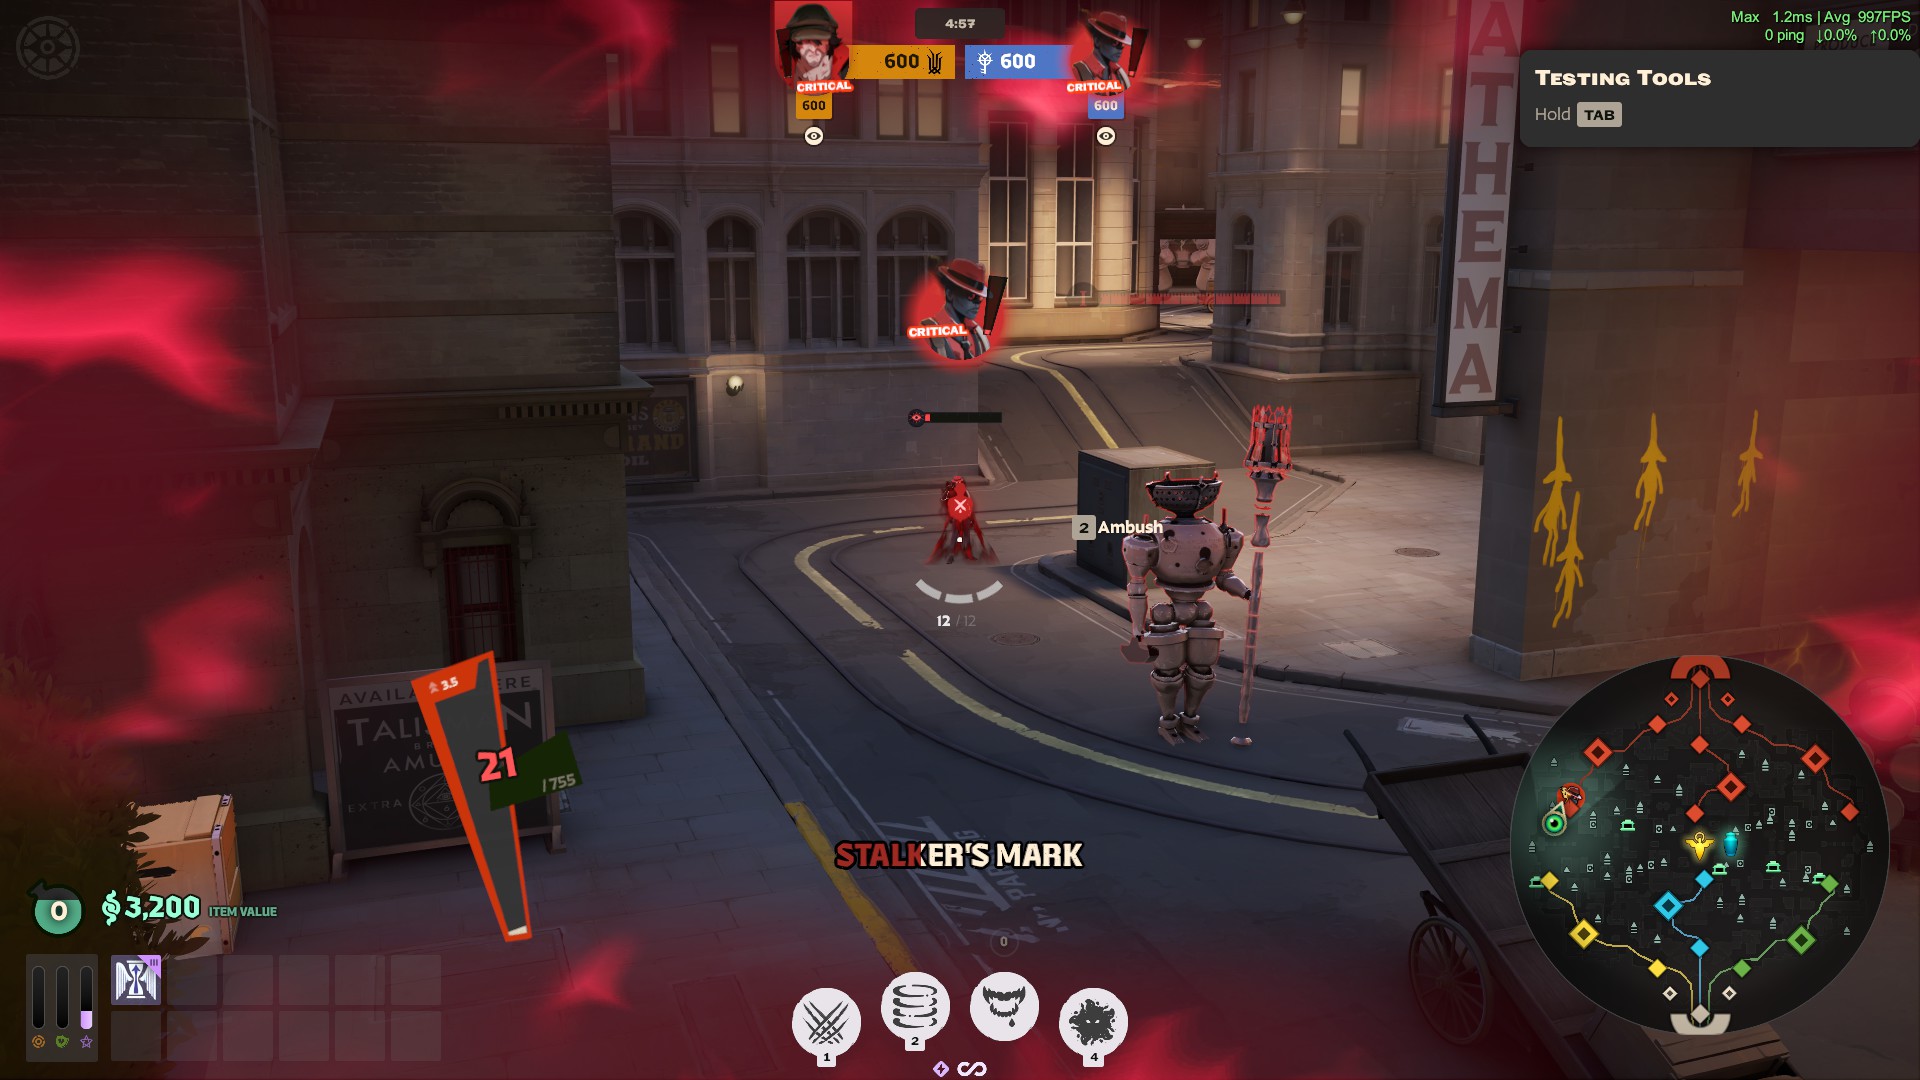
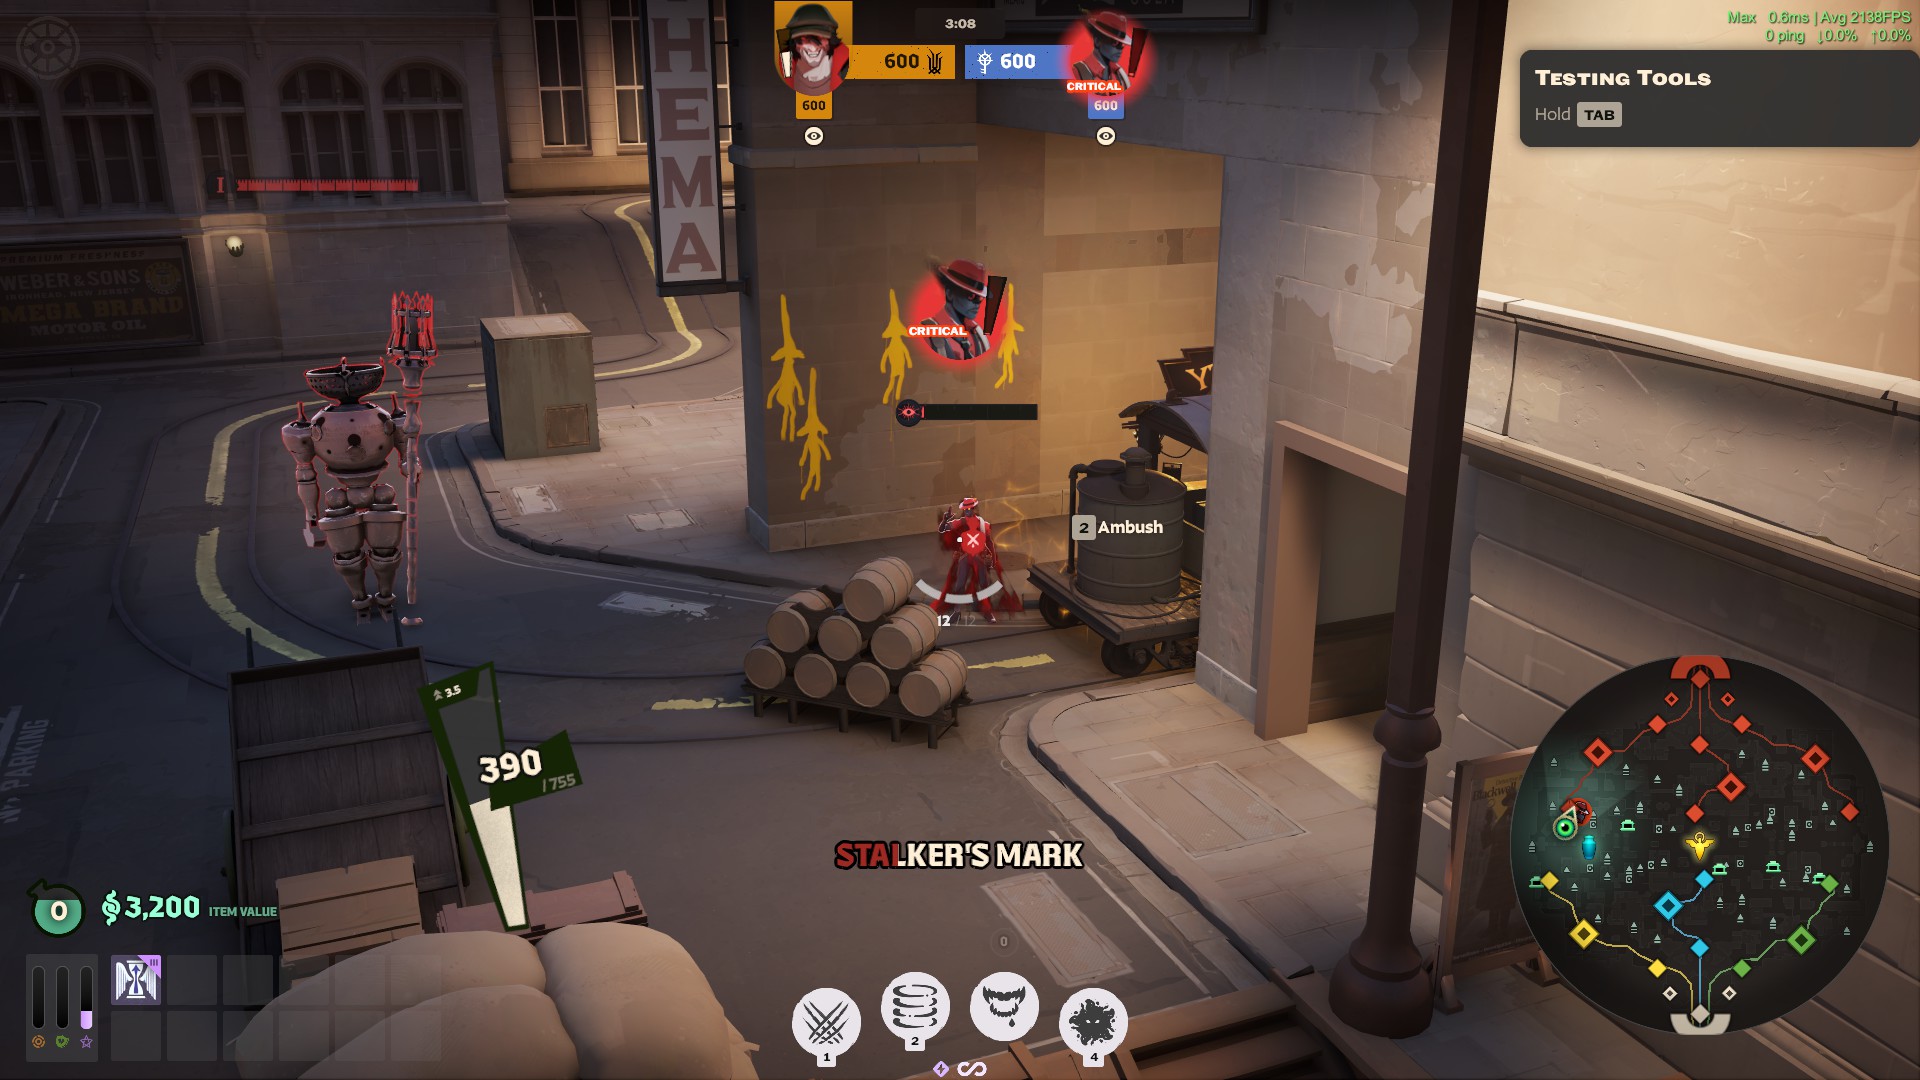
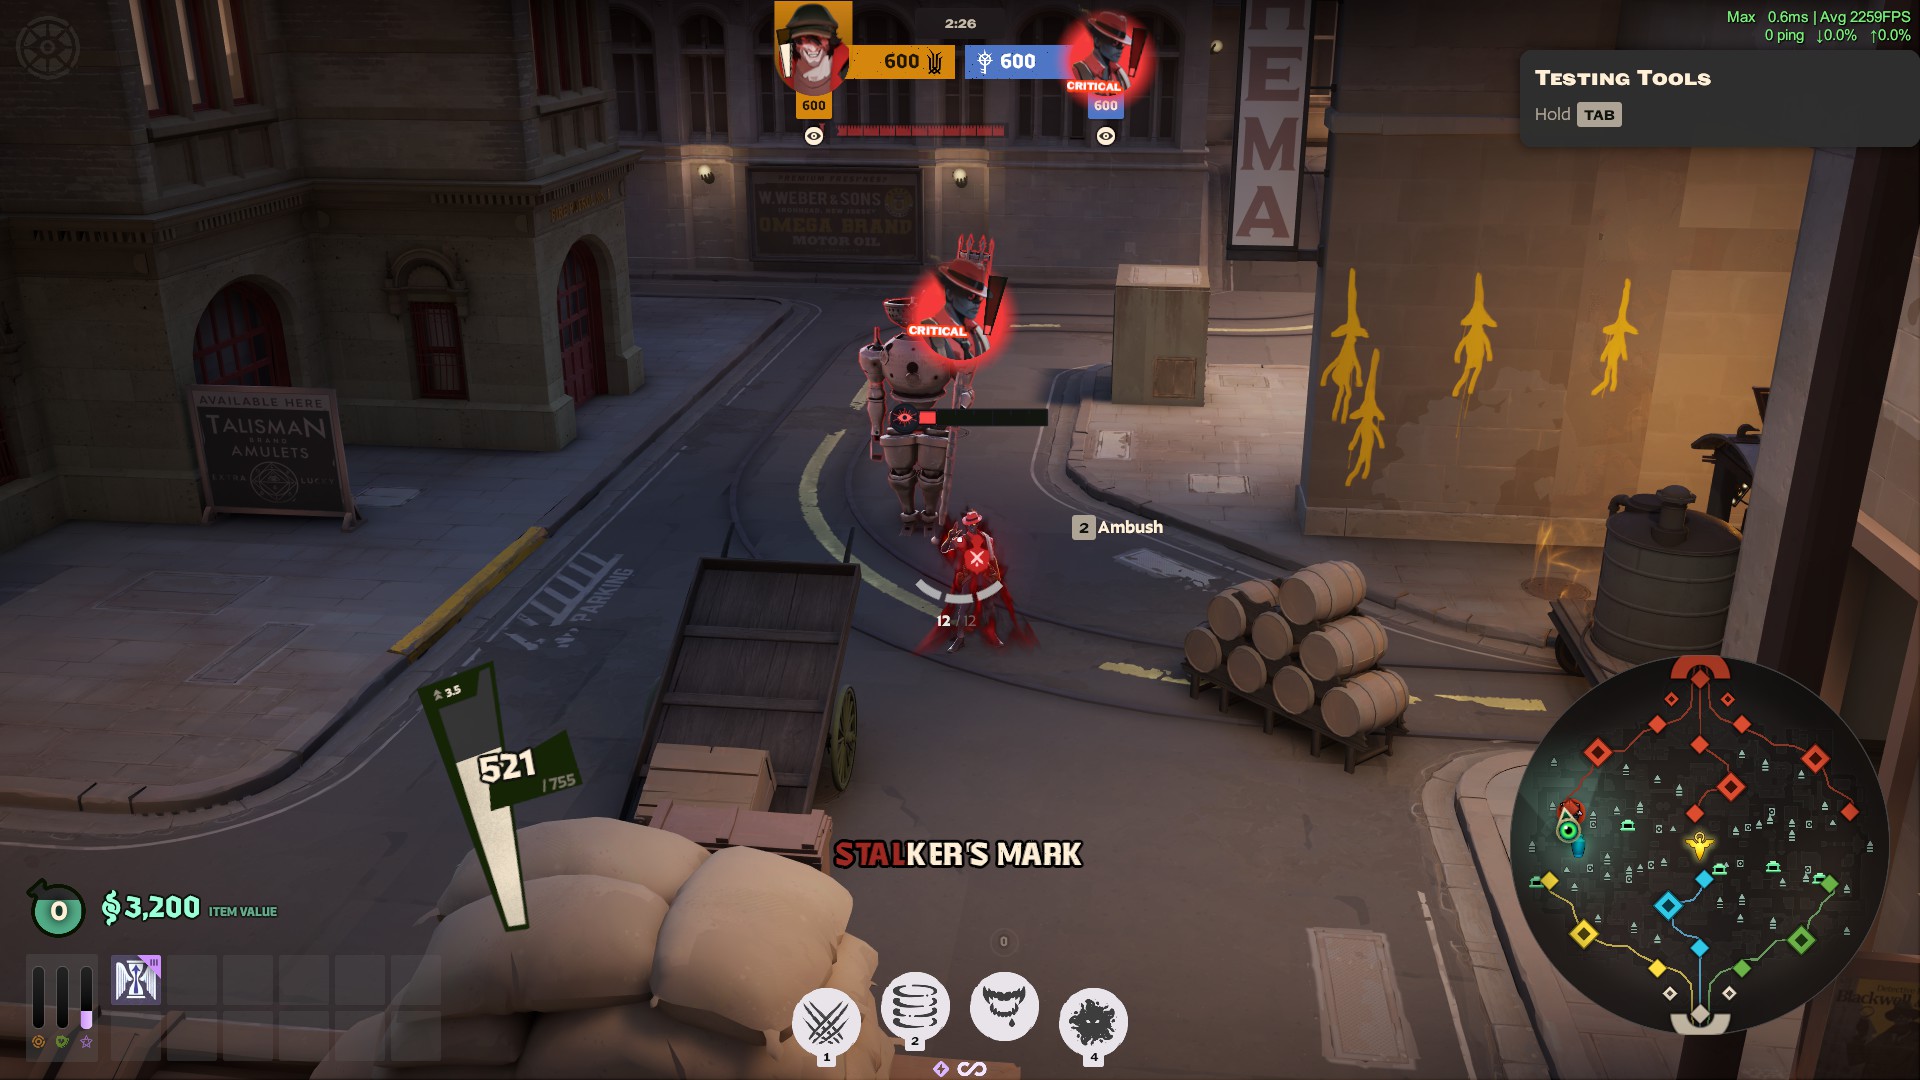
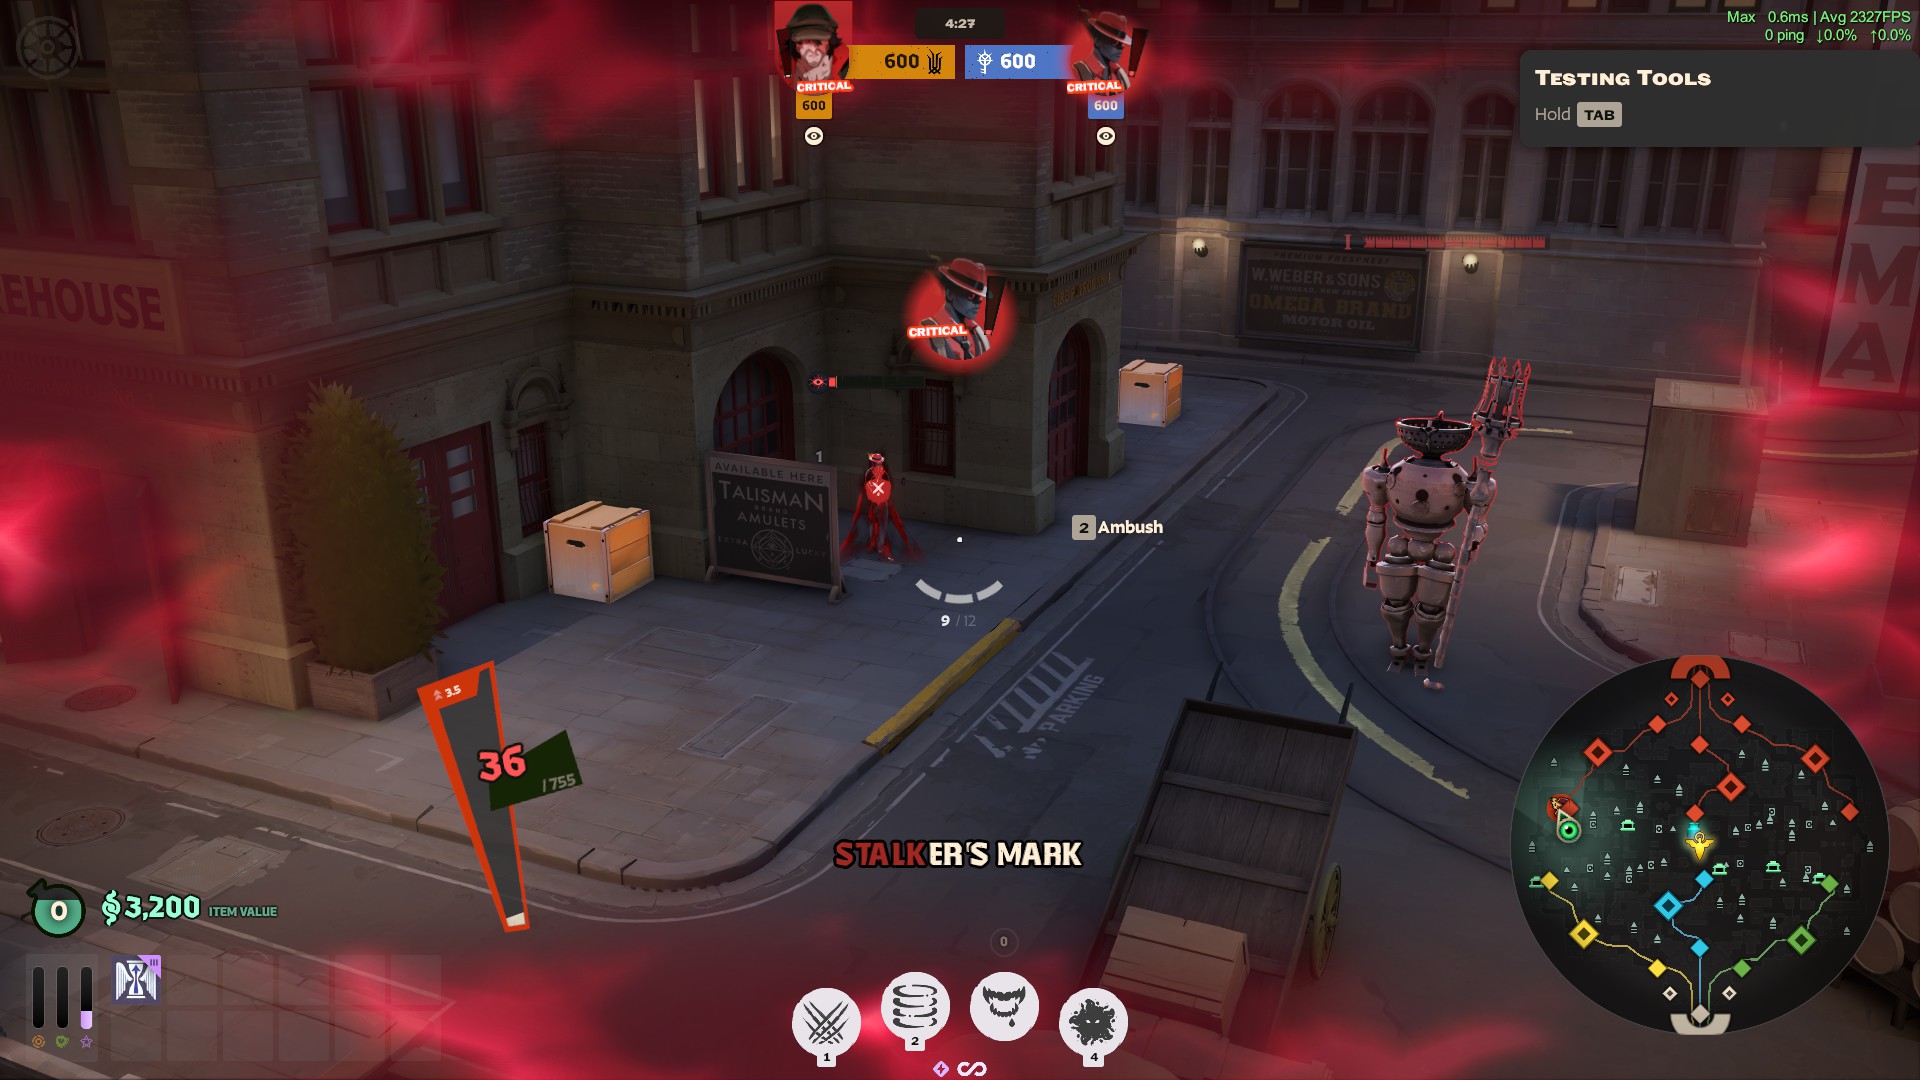
Use walls, crates, stairs, and the shape of the lane to stay unseen until the enemy enters Drifter's effective range. These positions shorten the distance and hide your approach, which is perfect for a Drifter who wants to get up close. Step out when an enemy enters your range, sneak in a close Rend or Stalker's Mark, shoot during their retreat, and disappear behind cover before they can return a clean trade.

Drifter using close lane architecture as coverDrifter holding a covered angle beside a stone pillarDrifter using the center lane boxes and stairs for a short approachDrifter using a large crate to conceal his approach
RISK ASSESSMENT

GUARDIAN DIVING

If the opponent is low health and hiding behind their Guardian, and you successfully hit a Stalker's Mark, be sure to assess the situation before you mindlessly teleport. If someone is low and gets hit by Stalker's Mark, a lot of people instinct will be to instantly parry, expecting you to teleport and quick melee immediately. Be wary of this and mix up your timings. Be mindful if they are positioned in a way that prevents you from parrying the Guardian. Ideally, you teleport and parry the Guardian so you will not take too much damage or die. The best case is communicating with your lane partner so they also dive and parry the Guardian for you. Keep enemy save tools in mind, such as Viscous Cube, Dynamo's Quantum Entanglement, and even abilities like Abrams' Shoulder Charge.

POSITIONINGDIVE ANGLES
TELEPORT POSITIONING
CHOOSE THE ANGLE

The safest Stalker's Mark teleports place Drifter close enough to finish the target while keeping the Guardian easy to see and parry. These examples move from the strongest entry angle to positions that leave you increasingly exposed.

Good Guardian dive teleport position
GOOD POSITION

The enemy is far away from their Guardian and offers no immediate threat if you choose to teleport. You even get a safe escape route here. Be wary of enemies jumping back into the Guardian's range.

Good Guardian dive teleport position
GOOD POSITION

Far enough away to avoid most of the Guardian's pressure and run after securing your kill, but this will still require some planning before teleporting.

Good Guardian dive teleport position
GOOD POSITION

Once again, they are far enough from the Guardian to avoid it while also offering one of the safer escape routes behind their shop.

Alright Guardian dive teleport position
ALRIGHT POSITION

You can get an easy parry on the Guardian in this position, but it will require the enemy to be low enough to finish the job or your lane partner to commit more with you.

Guardian dive teleport position that is not ideal
NOT IDEAL POSITION

You're in the Guardian's line of sight, and you'll be trapped in a corner when the enemy lane partner decides to help your victim. It can offer an easy escape route, but be confident that you can secure the kill and dip.

Guardian dive teleport position that is not ideal
NOT IDEAL POSITION

You're not close enough to parry the Guardian and are also in an awkward position where you'll most likely be tanking a lot of damage. Be wary when teleporting.

LANE DOWNTIME

GANKING

As an assassin, Drifter's bread and butter is roaming to farm stacks, even as early as the laning stage. It is important to treat it as a roam or gank rather than a full on roam, since you do not want to abandon the lane unless it is absolutely necessary. This is especially important if you have bought Trophy Collector. If you are not doing well in your lane, or even if the lane is going neutral, it is often best to roam and leave the side lane to a strong anchor such as Lady Geist or Wraith. Drifter should always be watching the other lanes for a chance to gank during lane downtime. When your wave is handled and staying in lane will not create meaningful pressure, use that window to find an isolated target, build stacks, and turn another lane in your team's favor.

FINDING OPPORTUNITIESREAD THE MAP
LANE AWARENESS
FIND THE OPENING

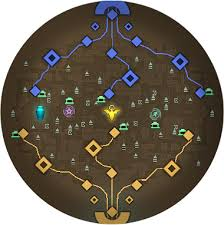
A good gank begins before Drifter leaves lane. Check the minimap and the enemy health bars during every quiet moment so you already know where the easiest stack is waiting.

Deadlock minimap showing the positions of both teams
WATCH FOR OVEREXTENDED ENEMIES

Scan the minimap for enemies who have pushed too far from their Guardian or moved away from nearby teammates. These targets give Drifter room to approach unseen, land Stalker's Mark, and finish the gank before help can rotate.

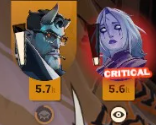
Enemy portraits showing one critically low health target
TRACK LOW HEALTH TARGETS

Keep checking the portraits above each lane for enemies marked critical or sitting at low health. A weakened enemy may be worth rotating toward even when they are not deeply overextended, because Drifter can convert a short opening into a fast kill and another stack.

BUILD DIRECTION

LANING ITEMIZATION

Buying items that give your Rend higher burst potential while also scaling into your roaming stage is popular itemization during laning. Items like Mystic Burst and Spirit Strike make Rend ferocious to deal with and upgrade into amazing items like Tankbuster and Spirit Snatch. As with any character, assess the enemy characters for counter buying. Avoid buying counter items that cost too much, as directly countering one enemy laner only to negatively affect your roaming later is not great.

GOOD ITEMSREND ENABLERS
EARLY ITEMIZATION
BUILD AROUND DRIFTER

Prioritize inexpensive items that strengthen Drifter's short trades and roaming plan. Rend should remain the center of the lane build, with selective gun investment and Trophy Collector supporting the parts of his kit that need help.

REND ENABLERS

Direct damage and sustain for Drifter's most important lane trading tool.

TIER 1 · SPIRIT800
MYSTIC BURST item icon
MYSTIC BURST
ITEM EFFECT

Charges over 14 seconds. An ability dealing more than 80 spirit damage consumes the charge to deal 40 additional spirit damage.

WHY DRIFTER

Rend can trigger the extra hit, creating a sharper poke and finishing spike while building toward one of Drifter's strongest later damage items.

UPGRADES TO TANKBUSTER
TIER 1 · VITALITY800
MELEE LIFESTEAL item icon
MELEE LIFESTEAL
ITEM EFFECT

Grants 12% melee damage. Your next melee hit heals you for 100 health on an 8 second cooldown, with reduced healing against non-heroes.

WHY DRIFTER

Rend triggers the heal, turning successful hits into sustain. This lets Drifter absorb return damage, stay aggressive, and repeat short trades without being forced out as quickly.

UPGRADES TO LIFESTRIKE
TIER 1 · SPIRIT800
SPIRIT STRIKE item icon
SPIRIT STRIKE
ITEM EFFECT

On a melee hit against a hero, deal 40 spirit damage and reduce their Spirit Resist by 6% for 6 seconds. Heavy melee cooldown is 8 seconds; light melee doubles it.

WHY DRIFTER

Rend deals melee damage, so it triggers Spirit Strike. The added damage and resistance reduction make the first Rend more threatening and strengthen the spirit damage that follows.

UPGRADES TO SPIRIT SNATCH
GOOD GUN ITEMS

Because of Drifter's lackluster gun, investing too much early is not ideal. You want to rely on Rend burst in lane, then Stalker's Mark and Rend while roaming. Some gun investment is still important, though, because you are still Drifter after all.

TIER 1 · WEAPON800
CLOSE QUARTERS item icon
CLOSE QUARTERS
ITEM EFFECT

Grants 20% melee resistance and 20% additional weapon damage against targets within 15 meters.

WHY DRIFTER

It rewards the exact range Drifter already wants for Rend, improving the shots woven into his close trades.

UPGRADES TO POINT BLANK
TIER 1 · WEAPON800
RAPID ROUNDS item icon
RAPID ROUNDS
ITEM EFFECT

Grants 9% fire rate and upgrades into either Swift Striker or Burst Fire.

WHY DRIFTER

A cheap way to make Drifter's follow-up shots smoother without sinking too many early souls into his gun.

UPGRADES TO SWIFT STRIKER OR BURST FIRE
TIER 2 · WEAPON1,600
OPENING ROUNDS item icon
OPENING ROUNDS
ITEM EFFECT

Grants 60% bullet velocity, 8% weapon damage, and 7 spirit power, plus 25% weapon damage against enemies above half health.

WHY DRIFTER

Strong for opening a trade with accurate pressure before Rend closes and finishes the exchange.

BUILDS FROM HIGH-VELOCITY ROUNDS
TIER 2 · WEAPON1,600
STALKER item icon
STALKER
ITEM EFFECT

Close range weapon or melee damage wounds the target for 17 spirit damage per second, reduces Bullet Resist by 6%, reveals them, and grants 1.5m move speed.

WHY DRIFTER

Rend can trigger the wound, giving Drifter extra damage and movement to keep chasing after the initial burst.

CLOSE RANGE CHASE TOOL
TROPHY COLLECTOR

A separate roaming investment whose value depends on how many kills and assists the map can offer.

TIER 2 · VITALITY1,600
TROPHY COLLECTOR item icon
TROPHY COLLECTOR
ITEM EFFECT

Grants 2m sprint speed and 2 out of combat regeneration. Every kill or assist permanently adds sprint speed, ability range, and passive soul income, stacking up to 16 times and persisting through death.

WHY DRIFTER

Trophy Collector is fantastic on Drifter because you already want to roam and farm Bloodscent stacks. Adding Trophy stacks rewards the same playstyle twice. Buy it earlier when you plan to roam soon, or delay it when the map offers little kill potential.

+0.15mSPRINT PER STACK+0.75%RANGE PER STACK+18SOULS/MIN PER STACK16MAX STACKS
BUILDS FROM SPRINT BOOTS
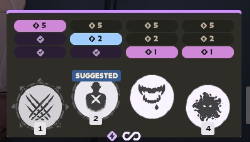
Suggested early ability upgrade order for Drifter
EARLY SKILL ORDER

ABILITY UPGRADES

WIP

WIP

ROAMING

WIP

DO
  • WIP
DON’T
  • WIP

WIP

MID GAME

WIP

DO
  • WIP
DON’T
  • WIP

WIP

LATE GAME

WIP

DO
  • WIP
DON’T
  • WIP